Hopefully by now you have been collecting and trading like a pro on Upper Deck e-Pack® with the assistance of the previous blog posts. If you missed them, you can find the post on starting your collection HERE, and the one going over how to start trading HERE. In this post, I will be going over how you can send home your cards that have physical copies. For the basic FAQ, you can find it under SHIPPING AND PURCHASES.
 Transferable Items in the Collect Tab
It doesn’t matter if you have been stockpiling cards to send home, waiting to complete an achievement, or pulled a card you’re excited to display. Firstly you’ll want to take a look at the Overwatch League™ trading cards in your collection you are able to send home. The “Collect” tab is where you will want to go first, and then you will be able to go to “Transferable Items.” This will show you all of your items that have physical copies that you are able to send home. You could also go through your collection and use the search filter, as under “Attributes” you will find the transferable items. This is just a nice little shortcut.
While the blue transfer icon below the card signals that the card has a physical copy, this time you are looking for a grey transfer icon to the left of the card. When you click on the grey icon, it will do a neat little animation moving the card to the top left transfer cart. If you were curious what the other grey icons do, there is the “Lock/Unlock” icon, “Turn Over Card” icon, as well as “Zoom In” icon. Locking prevents it from being traded, “Turn Over” will flip it over so you can see the back, and zoom in will zoom in so you can better see the details.
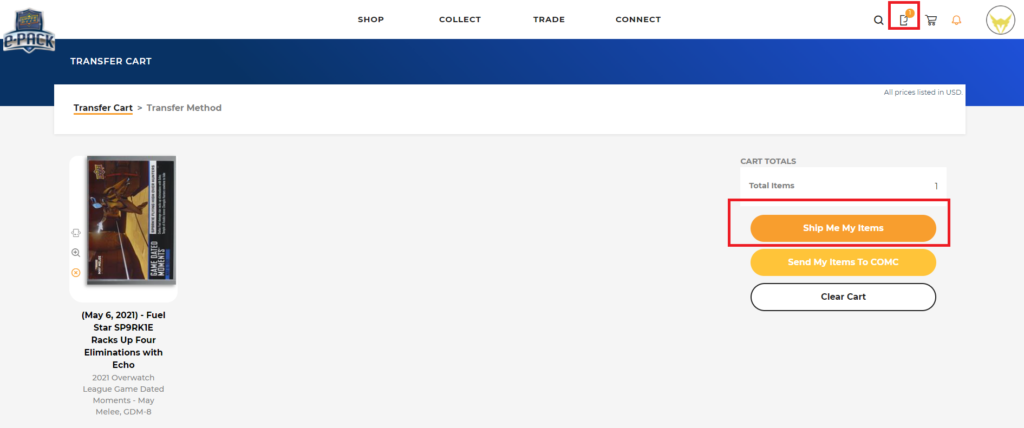
In the top right corner, you will see your transfer cart, with an orange icon indicating how many cards you are preparing to transfer. You will see three options on the right side; two are transfer methods, and the bottom will clear the cart and return the cards to your online collection. It’s also good to note that once you transfer these items, you will no longer see them in your online collection, as you will physically have them.
The top option is “Ship Me My Items”, which will take you through the shipping process. You will have the option to add top loaders, but the cards do come in penny sleeves. Top loaders are thicker plastic sleeves to protect your cards, while penny sleeves are usually a thin plastic sleeve. Next it will take you through adding the address you would like to have the items shipped to.
The next screen after address will be “Declared Value.” As mentioned on the Shipping Purchases page, users “must declare a value for their item(s), acknowledge and agree that the declared value for the item(s) provided is true and accurate, and agree to assume full and sole responsibility for the values and contents of an order.” Basically: try to the best of your ability to put in a monetary value that totals the sum of all of the items you’re shipping. If you’re unsure, you can always look on COMC (see below) or other listings to help figure out a value for each item.
The second option is sending cards to a secondary site to sell. If you choose to send items to COMC (Check Out My Cards), you will have to link your existing COMC account to your e-Pack account. If you haven’t already, you can do this by going through your account settings under “Linked Accounts.” You can use COMC if you want to sell any of your cards, and don’t have to worry about having them sent to you, and sending them to whomever buys them. This makes it much easier and can be done all online.
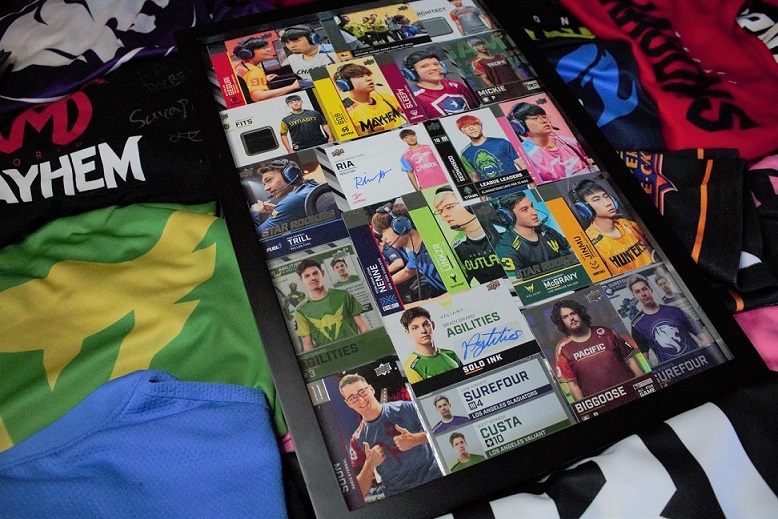
One of the best parts about Upper Deck e-Pack® is the flexibility to collect, trade and send however and whenever you want. So long as you have internet, you can also open packs wherever you want! We hope this guide will help you along your journey of collecting all the Overwatch League™ trading cards you desire. When you do get those cards in your hand, share them on social media using #CollectOWL so we can see your collections and how you choose to display them!


